If possible, draw a floor plan of the stage, depicting its length and width and the approximate positions of the designated hardware. This will help you to calculate which cables you will need and in which lengths. If you can only see the stage on site, take a few minutes anyway to consider possible setups. Then keep the floor plan at your mixing console so that it doesn't get lost.

Tip 1: floor plan
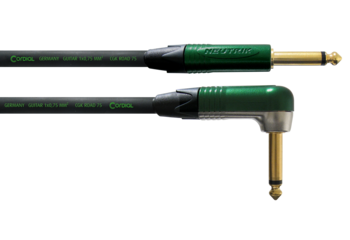
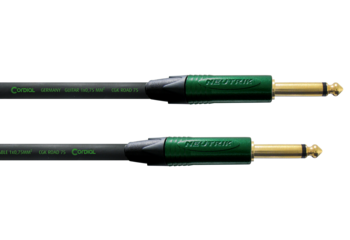
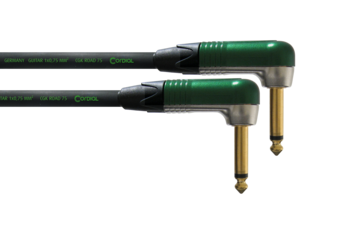
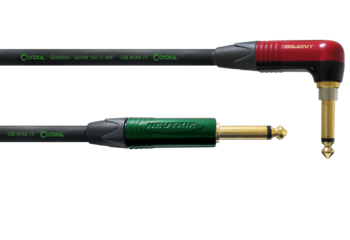
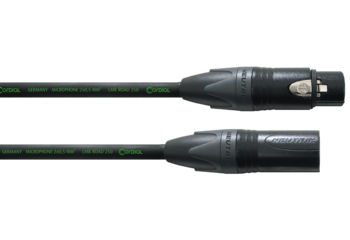
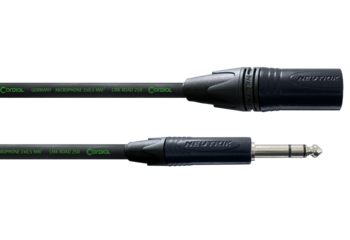
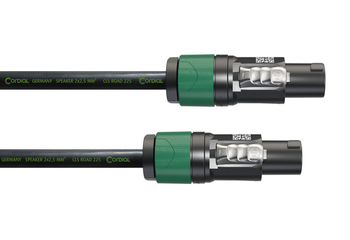
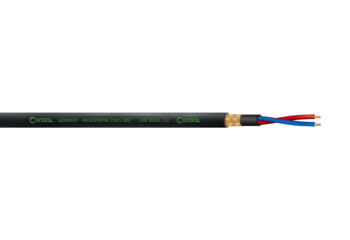
Tip 2: robust cables!
To make sure your cables survive the demanding use on stage, get the most robust cables possible. The cables’ notch resistance is especially important, so be sure to use cables that are particularly suitable for stage use (e.g. Cordial's ROAD series).
Tip 3: Keep it short!
Keep your cable runs as short as possible in order not only to avoid tripping hazards but also reduce noise and unnecessary weight.
Tip 4: spare cables
Keep Murphy’s laws in mind and make sure you have enough spare equipment: Always expect that each of your cables can fail - so provide for an adequate number of spare cables. Place your replacement cables close to your mixing console, sorted by purpose to effectively reduce downtime.
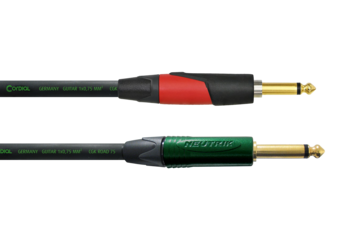
Tip 5: Color-code your cables!
Always color-code respectively label your cables. By means of transparent shrink tubing you can mark the cables in advance and enter them into your stage plan. If shrink tubes are not available, use gaffer tape, design your own markers and attach them to both ends of the cable. Thus, you can easily identify them even when they are laid.
Tip 6: Square it!
Do not lay cables transversely but try to lay your cables parallel or perpendicular to the stage. This will greatly enhance clarity and reduce tripping hazards. Don’t forget to enter your cables into your stage plan.
Tip 7: Seperate power and audio!
Always separate power and audio cables! Power cables can interfere with the signals in audio cables, so try to separate them as much as possible. First lay power and then audio cables to make an effective separation easier. Ideal installation positions are behind the backline or in front of the stage monitors. A detailed stage plan will really help you at it.
Tip 8: Reduce trip hazards!
Reduce trip hazards by using rubber mats or (at a pinch) Gaffer tape, so that your cables won’t suffer. Leave some cable in reserve, e.g. at the box, so that, on the one hand, the danger of tripping is minimized and, on the other, the plugs won’t be endangered unnecessarily.
Tip 9: Mark defective cables!
Should your cable fail, measure it with a voltmeter. If a conductor is not continuous, there is probably a cable break. If two contacts of one connector are continuous, a cable break is also likely. Immediately mark the defective cable (e.g. tape the plug with Gaffer tape, use colored cable Velcro, etc.) so that it won’t madden you again and again.
robust and reliable